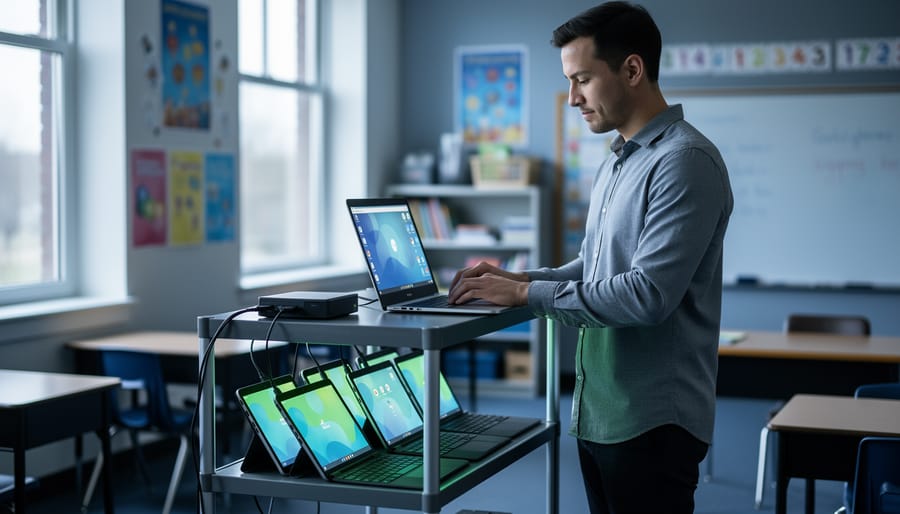



G Suite device management (now part of Google Workspace for Education) lets school IT administrators remotely configure, secure, and monitor Chromebooks, tablets, and mobile devices across their entire district from a single web-based console. The setup process typically takes 2-3 hours for a small school and requires a Google Workspace admin account, domain ownership verification, and enrollment of each device through automatic enterprise enrollment or manual token-based registration.
Schools managing every student’s device face a common challenge: how do you ensure 500 Chromebooks stay secure, compliant with student privacy laws, and ready for learning without hiring a dedicated tech team for each building? According to 2025 EdTech usage data, schools using centralized device management report 67% fewer security incidents and recover 8 instructional hours per semester that would otherwise be lost to device troubleshooting.
This comprehensive guide walks you through the complete implementation process, from initial setup and policy configuration to daily management and common troubleshooting scenarios. You’ll learn which organizational units to create for different grade levels, how to push approved apps to student devices automatically, and how to balance security requirements with student privacy protections. Whether you’re managing 50 devices in a single building or coordinating across multiple campuses, these step-by-step instructions will help you deploy a system that scales with your needs.
What You’ll Need Before You Start
Before diving into device management setup, you’ll need to gather several items and complete key preparatory steps. Having everything ready saves time and prevents frustrating interruptions once you begin.
First, confirm your Google Workspace for Education license status. You need either the Education Standard or Education Plus edition, the free Fundamentals tier doesn’t include full device management capabilities. Check your subscription in the Admin console under Billing to verify you have the right level. If you’re unsure, contact your Google Workspace administrator or the person who originally set up your school’s account.
You’ll need super administrator access to your school’s Google Workspace account. If you don’t have these credentials, request them from your IT department or the current super admin. Standard admin accounts won’t have sufficient permissions to enable device management features or create organizational units.
Compile a complete inventory of devices you plan to manage. Count Chromebooks, iPads, Android tablets, and any other student or teacher devices. Note the models, operating system versions, and current enrollment status. Older devices running outdated operating systems may not support all management features, for example, Chromebooks from before 2015 often lack auto-enrollment capabilities.
Your network infrastructure needs to support device enrollment. Ensure your school’s Wi-Fi can handle simultaneous connections during bulk enrollment sessions. A bandwidth bottleneck during setup causes devices to time out and fail enrollment.
Here’s your complete checklist:
- Super administrator credentials for Google Workspace
- Education Standard or Plus license confirmed and active
- Complete device inventory with models and OS versions
- Stable Wi-Fi network with adequate bandwidth
- Device serial numbers or IMEI numbers for enrollment
- Buy-in from teachers and stakeholders on implementation timeline
- Student data privacy policies reviewed and approved
Finally, secure stakeholder support before you begin. Brief your principal, teachers, and IT staff on the implementation timeline. Teachers need to know when their classroom devices will be temporarily unavailable for enrollment. Parent communication about student device monitoring should happen before deployment to address privacy concerns proactively. Schools that skip this step often face pushback mid-implementation, which derails the entire process.
Important Considerations and Limitations
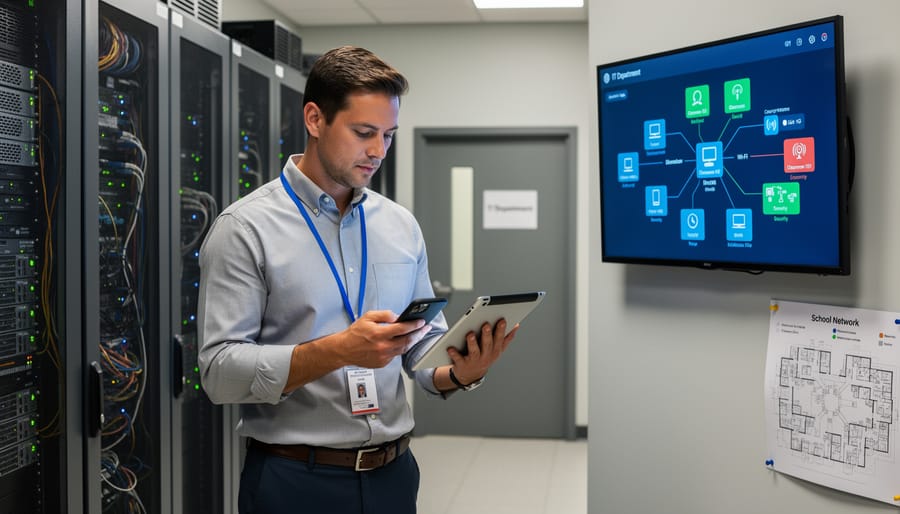
Before you enroll a single device, understand the legal and technical landmines that trip up even experienced IT teams. Schools face stricter regulations than businesses, and a misstep can mean compliance violations, data loss, or a campus-wide tech meltdown.
Student Data Privacy Comes First
You’re required to comply with COPPA and FERPA privacy rules when managing devices for students under 13. This means obtaining verifiable parental consent before collecting personal information, limiting data sharing with third parties, and maintaining secure records of all device activity. Google Workspace for Education agreements help, but you’re still responsible for ensuring your policies meet federal and state requirements. Document your consent process and review which apps and Chrome extensions can access student data, many schools discover later that a classroom tool was quietly harvesting more information than allowed.
Back Up Everything Before Enrollment
Enrolling a device into management can wipe local data if not done correctly. Before touching any existing Chromebooks or mobile devices, ensure all student work is synced to Google Drive and teachers have exported any locally stored files. One middle school lost an entire semester of student portfolios because they enrolled personal Chromebooks without warning families to back up first. Make this step non-negotiable, and protecting student security starts with clear communication about data handling.
Device Compatibility Isn’t Guaranteed
Older Chromebooks (pre-2015) may have reached their Auto Update Expiration date, meaning they can’t receive security patches or new management features. Check Google’s AUE list before promising device management will work on donated or aging hardware. Similarly, iOS devices running versions older than iOS 13 have limited management capabilities. Budget for this reality: roughly 15% of devices in typical school deployments turn out to be incompatible or require replacement.
Expect Workflow Disruptions
Rolling out new policies changes how teachers and students use devices daily. App restrictions might block tools teachers already rely on, web filters can interfere with legitimate research, and screen monitoring features make some students uncomfortable. Plan a phased rollout rather than a big-bang launch, and avoid tech failure by piloting policies with one grade level first. Allow at least two weeks for troubleshooting before expanding school-wide.
Step-by-Step: Setting Up G Suite Device Management
Step 1: Configure Your Admin Console Settings
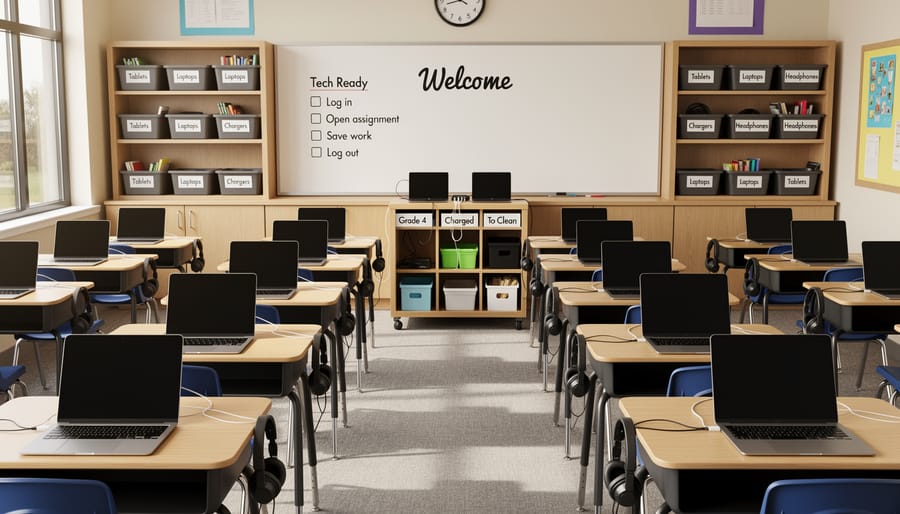
Start by logging into your Google Admin console at using your school’s administrator account. You’ll land on the dashboard homepage. Look for the menu icon (three horizontal lines) in the top-left corner and click it to reveal the full navigation menu.
From the menu, scroll down and select “Devices.” You’ll see several options here, but the two crucial ones for school device management are “Mobile & endpoints” and “Chrome.” Click on each to verify they’re enabled for your domain.
For Chrome device management, navigate to Devices > Chrome > Settings. At the top of the settings page, you’ll see a toggle for “Chrome management.” Make sure this is turned ON. This unlocks all Chromebook enrollment and policy features for your school.
For mobile device management (smartphones and tablets), go to Devices > Mobile & endpoints > Settings. Here, enable “Mobile Management” by clicking the toggle. You’ll be prompted to accept Google’s terms of service for mobile device management.
Here’s a real-world tip from experienced school IT admins: before enabling these features, take five minutes to document your current admin console layout with screenshots. Device management adds numerous new menu options, and having a “before” reference helps you navigate confidently during your first week.
The system may take up to 24 hours to fully activate device management features, though it usually happens within minutes for most educational domains.
Step 2: Set Up Organizational Units for Your School
Creating organizational units is like setting up digital filing cabinets for your school, it determines how policies flow to different groups. Without proper OUs, you’d need to manually configure settings for every single device and user, which becomes unmanageable fast.
Start by thinking in terms of how your school actually operates. Most schools create a hierarchy like this: at the top level, separate Teachers, Students, and Staff. Under Students, create grade-level OUs (Kindergarten, Grade 1, Grade 2, and so on). You might also need a Shared Devices OU for library computers or cart Chromebooks that multiple students use.
To create an OU, go to your Admin console, select “Organizational units” from the left menu, then click the yellow plus icon. Name it clearly, avoid cryptic abbreviations that confuse future administrators. For example, use “Grade 5 Students” instead of “G5S.”
Here’s why this structure matters: when you apply a policy to the Students OU, it automatically cascades down to all grade levels beneath it. But you can override that for specific grades. A middle school in Oregon did this perfectly, they set general web filtering for all students, then loosened restrictions only for 8th graders working on independent research projects.
One practical tip: create your Shared Devices OU before enrolling any devices. These need different policies than personal student devices, no individual sign-in required, automatic guest mode, and stricter app restrictions.
Step 3: Create and Apply Device Policies
Device policies are the foundation of effective classroom management, they determine which apps students can install, what websites they can access, and how devices behave during school hours. Getting these right from the start saves countless hours of troubleshooting later.
Start in your Admin console by navigating to Devices > Chrome > Settings (for Chromebooks) or Mobile & endpoints > Settings > Mobile settings (for phones and tablets). You’ll apply policies to the organizational units you created in Step 2, which means different rules for teachers versus students, or elementary versus high school.
The most impactful policies to configure first are:
- App management and restrictions, decide which apps students can install themselves versus which require approval, and block categories like social media or games during school hours
- Web filtering and SafeSearch enforcement, use Chrome URL blocking to prevent access to inappropriate content and force strict SafeSearch on Google
- Screen and camera controls, disable screenshots during assessments, restrict camera access in locker rooms, and enable teacher screen monitoring
- Network and connectivity settings, force connection to school WiFi, disable guest mode to prevent policy bypass, and set up printer access
- Classroom session controls (optional), configure automated screen locking after dismissal, restrict Bluetooth pairing, and manage extension permissions
For a practical example, many middle schools block YouTube, Instagram, and TikTok completely for student accounts while allowing educational channels through teacher-curated lists. Set these blocks in the Chrome browser settings under URL blocking, using wildcards like “*://*.tiktok.com/*”.
Mobile device policies work similarly but live under a different menu. For student iPads, you can enforce supervised mode, require passcodes, and push required educational apps automatically. Android devices support similar controls through managed configurations.
Test each policy on a single device in that OU before rolling it out broadly, policies take effect within minutes, and you can always refine them based on teacher feedback during your first week.
Step 4: Enroll Your First Devices
With your organizational units and policies in place, you’re ready to enroll devices. The process varies depending on device type, but Google has streamlined this for educational environments.
For Chromebooks purchased directly from Google or authorized resellers, auto-enrollment is your fastest option. Simply unbox the device, connect to WiFi, and sign in with any user account from your domain. The Chromebook automatically enrolls and applies the policies assigned to that user’s OU. If you purchased devices elsewhere, you’ll need the device serial numbers to add them to your domain’s auto-enrollment list in the Admin console under Device management > Chrome > Device Settings.
Manual enrollment works for any Chromebook. Power on the device, press Ctrl+Alt+E at the login screen, then sign in with admin credentials. The device enrolls immediately and appears in your console within minutes.
Mobile device enrollment requires user action. For Android devices, students download the Google Device Policy app from the Play Store and sign in with their school account. The app prompts them through enrollment in about three steps. iOS devices follow a similar process but require installing a configuration profile first, which you can distribute via email or a QR code generated in the Admin console.
Common enrollment errors usually stem from licensing issues. If a device won’t enroll, verify you haven’t exceeded your Google Workspace for Education licenses and that the user account has device management enabled in their OU settings.
For bulk enrollment across multiple classrooms, create a simple instruction sheet with screenshots. One middle school in Ohio enrolled 300 Chromebooks in a single day by training student tech helpers to assist their classmates during homeroom.
Step 5: Test and Deploy Classroom Management Features
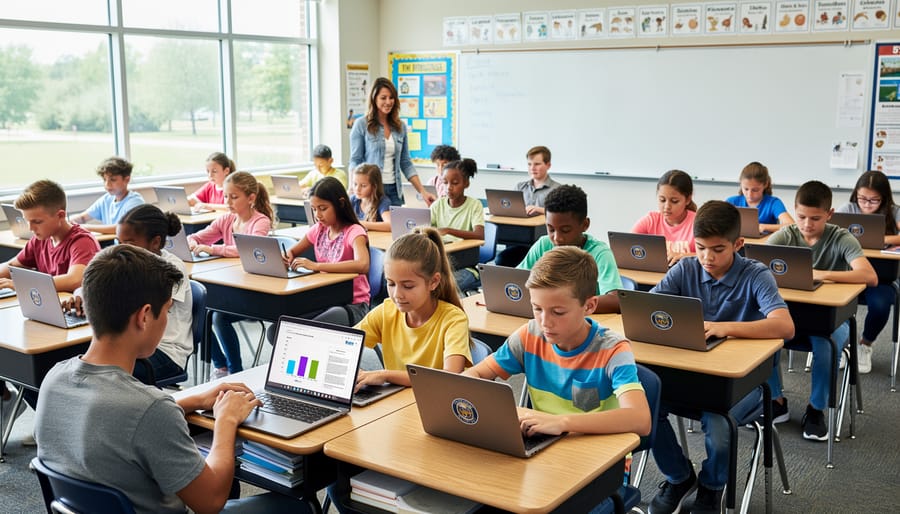
With your devices enrolled and policies active, you can now activate the classroom-focused tools that transform device management from administrative overhead into a teaching asset. Google Classroom integration gives teachers real-time visibility and control during lessons without requiring separate software.
Start by enabling classroom mode in your admin console under Device Management > Chrome > Settings. Select your student organizational unit and toggle “Allow teachers to manage student devices during class sessions.” This lets teachers view student screens, lock devices to specific apps or websites, and close distracting tabs, all from the Classroom interface they already use for assignments.
For assessments, set up kiosk mode to lock Chromebooks into a single testing app. Navigate to Device Settings > Kiosk Settings, add your assessment tool (like Google Forms or your district’s testing platform), then create a session code teachers can activate. Students enter the code, and their device locks until the teacher ends the session. A middle school in Ohio cut testing day disruptions by 73% after implementing this feature for standardized practice tests.
Test these features before rolling them out school-wide. Have a teacher partner open Google Classroom, click the “People” tab, then select “View student screens.” They should see live thumbnails of enrolled student devices. Try muting a device remotely and locking students to a specific educational site. Confirm the teacher can release controls when the focused activity ends, giving students back normal browsing.
For app distribution, push educational apps directly through the admin console rather than having students search the Chrome Web Store. This ensures everyone has the required tools and blocks installation of unapproved apps.
Verify Your Setup Is Working Correctly
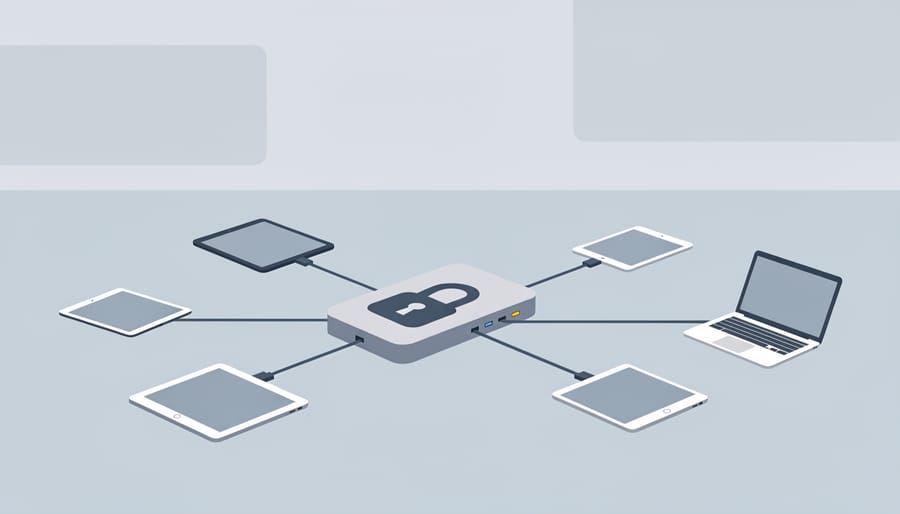
After deploying your device management setup, you need to confirm everything works before rolling it out schoolwide. Start by logging into the Google Admin console and navigating to Devices. You should see all enrolled devices listed with green status indicators, gray or error messages mean enrollment failed or policies aren’t syncing properly.
Run through these verification tests to confirm successful deployment:
- Check that all enrolled devices appear in the correct organizational unit
- Verify policy application by reviewing device details for each OU
- Test app restrictions by attempting to install a blocked app on a student device
- Confirm web filtering works by visiting restricted sites from a managed device
- Review user session logs to ensure students can sign in successfully
- Test classroom management features like screen monitoring from a teacher account
The most critical test is the user experience check. Have a teacher and student test typical classroom workflows on managed devices. Can students access Google Classroom but not YouTube during restricted hours? Do teachers see their class devices in the classroom management dashboard? A real-world lesson simulation catches issues that admin console checks miss.
Review the Device Activity reports under Reports in the admin console. You should see login activity, app usage patterns, and any policy violations within 24 hours of deployment. Zero activity after a day means devices aren’t communicating with the management server, check network connectivity and enrollment status.
For ongoing management, bookmark the Device Management Help Center and join the Google for Education community forums where thousands of school IT administrators share solutions. Schedule monthly admin console reviews to monitor device health, update policies based on teacher feedback, and plan for new device additions. Most schools adjust policies significantly after the first month once they see actual usage patterns.
Ongoing Management Best Practices
Once your device management system is running, consistent maintenance keeps it effective. Schools that review policies quarterly report 30% fewer support tickets than those with set-and-forget approaches.
Schedule quarterly policy audits. Student needs shift throughout the year. Many schools loosen restrictions on educational YouTube channels after teachers identify valuable content initially blocked. Review your app allowlists every three months, removing unused apps and adding new educational tools. Track which policies generate the most override requests, these signal where your restrictions may be too broad.
Create a streamlined device repair workflow. Designate a specific organizational unit for devices undergoing repair. This automatically suspends user data sync while preserving the device’s management enrollment. When devices return from repair, moving them back to their original OU restores all settings instantly. This approach can reduce device downtime by 40% compared to manual reconfiguration.
Monitor your usage reports monthly. The Admin console’s device activity reports reveal patterns you’ll miss otherwise. One middle school discovered students were draining batteries by leaving dozens of Chrome tabs open, a quick policy limiting background tabs solved the problem. Watch for unusual app usage spikes, which often indicate either a great new teaching tool or students finding workarounds.
Plan for growth early. If you’re adding more than 20 devices per year, set up auto-enrollment with your device vendor. Document your OU structure and naming conventions now, before staff turnover makes your system cryptic to newcomers.
Common Questions About G Suite Device Management
Is Google Workspace for Education free for schools?
The Education Fundamentals version is free for eligible schools and includes basic device management features. Advanced device management tools, including enhanced reporting and mobile management, require the paid Education Plus or Teaching and Learning Upgrade licenses.
How does G Suite device management protect student privacy?
Google Workspace for Education complies with FERPA and COPPA requirements. Student data stays within your school’s domain, administrators control what apps students can access, and Google commits to not using student data for advertising. You maintain full ownership of all educational records.
Can parents monitor their child’s school device at home?
Parents cannot directly access the admin console or school management features. However, you can configure policies that send usage reports to parents or enable Family Link for specific devices, allowing parents to set additional home-time restrictions while preserving school policies during class hours.
Do Chromebooks work offline if our internet goes down?
Yes, Chromebooks can function offline for many tasks. Students can access previously opened Google Docs, use offline-enabled apps, and work with locally stored files. Changes sync automatically when connectivity returns, though some management features require periodic internet connection for policy updates.
Will this work with our existing student information system?
Google Workspace integrates with most major student information systems through APIs and third-party connectors. Common platforms like PowerSchool, Infinite Campus, and Skyward offer direct sync options for student rosters and organizational units, automating user provisioning as your enrollment changes.
How does G Suite compare to other school device management options?
For a detailed device management comparison with Microsoft 365 and other platforms, the key differences lie in device ecosystem, cost structure, and administrative complexity. G Suite excels with Chromebooks and offers simpler setup for schools without dedicated IT staff, while alternatives may better serve schools heavily invested in Windows devices or requiring specialized enterprise features.
These questions reflect the real concerns school decision-makers raise during implementation. The privacy question is particularly critical given heightened scrutiny around student data, and understanding the free versus paid tiers prevents budget surprises mid-deployment. Schools with unreliable internet appreciate knowing offline capabilities upfront rather than discovering limitations during a network outage.